

Set up a workspace
This page describes setting up and managing your LangSmith organization and workspaces:

 Organizations on the Enterprise plan may set up custom workspace roles in the Roles tab. For more details, refer to the access control setup guide.
For a full list of permissions associated with each role, refer to the Administration overview page.
Organizations on the Enterprise plan may set up custom workspace roles in the Roles tab. For more details, refer to the access control setup guide.
For a full list of permissions associated with each role, refer to the Administration overview page.
 For users that are already members of an organization, a workspace
 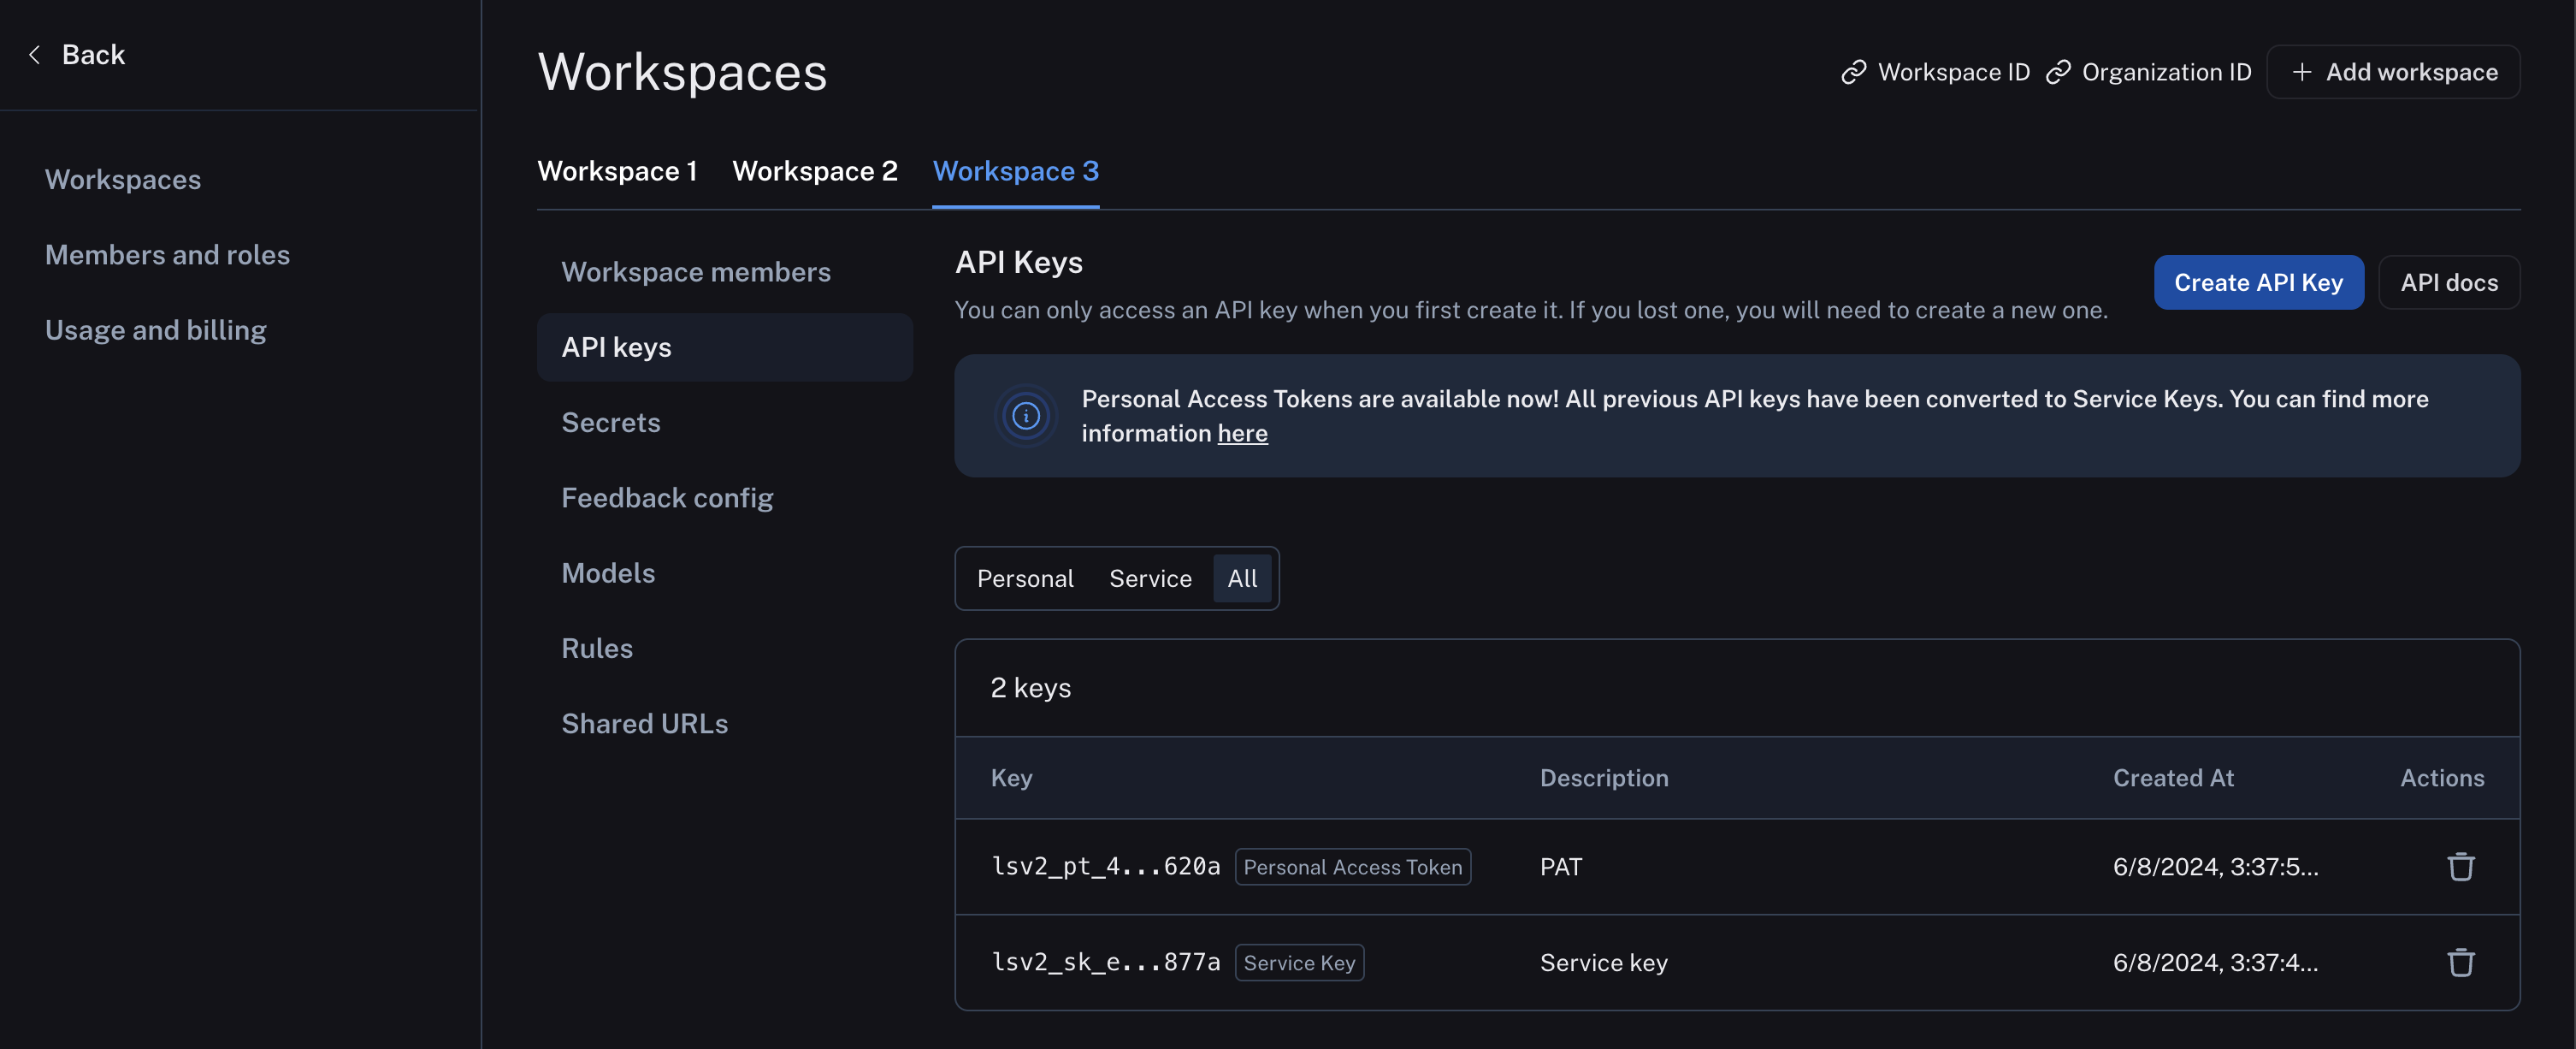 You can delete a workspace through the LangSmith UI or via API. You must be a workspace
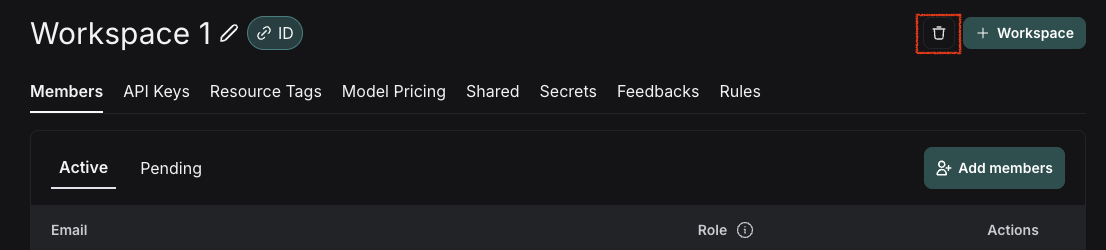
- Set up an organization: Create and manage organizations for team collaboration, including user management and role assignments.
- Set up a workspace: Set up and configure workspaces to organize your LangSmith resources, manage workspace members, and configure settings for team collaboration.
You may find it helpful to refer to the overview on LangSmith resource hierarchy before you read this setup page.
Set up an organization
If you’re interested in managing your organization and workspaces programmatically, see this how-to guide.
Create an organization
When you log in for the first time, LangSmith will create a personal organization for you automatically. If you’d like to collaborate with others, you can create a separate organization and invite your team members to join. To do this, open the Organizations drawer by clicking your profile icon in the bottom left and click + New. Shared organizations require a credit card before they can be used. You will need to set up billing to proceed.Manage and navigate workspaces
Once you’ve subscribed to a plan that allows for multiple users per organization, you can set up workspaces to collaborate more effectively and isolate LangSmith resources between different groups of users. To navigate between workspaces and access the resources within each workspace (trace projects, annotation queues, etc.), select the desired workspace from the picker in the top left:
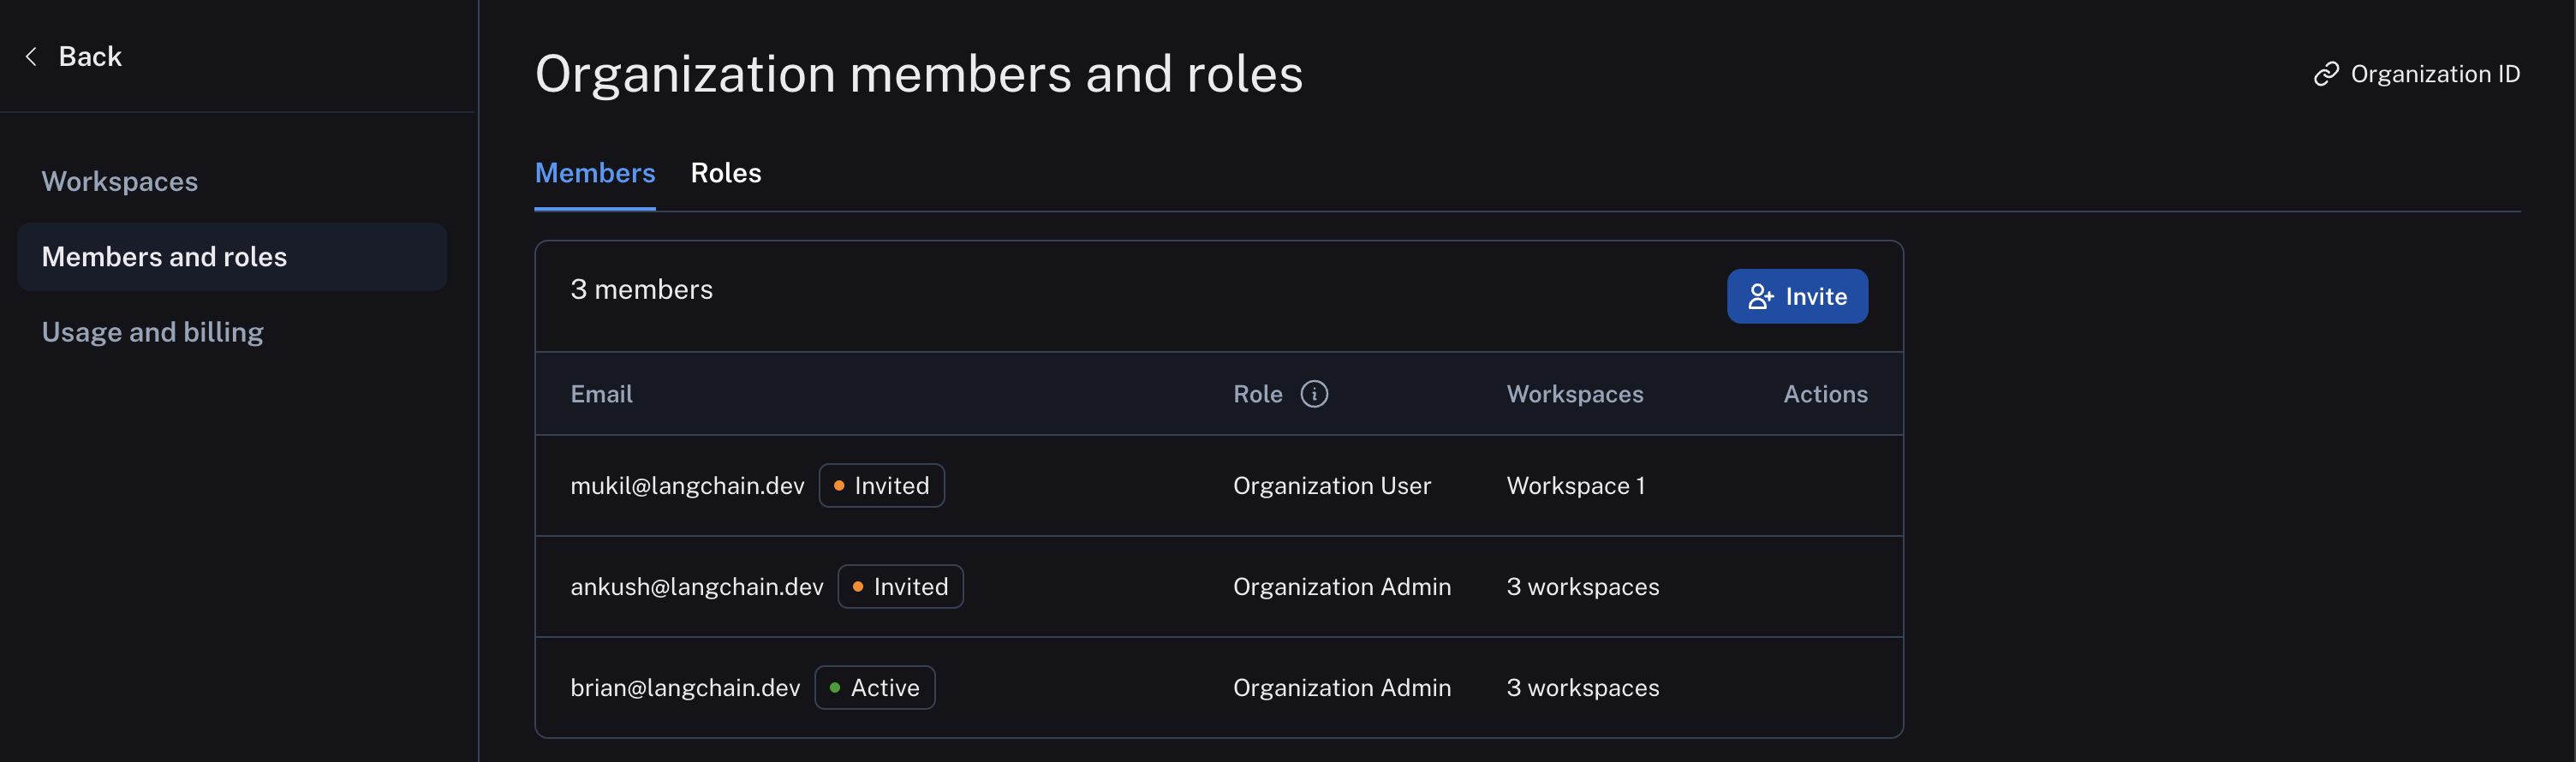
Manage users
Manage membership in your shared organization in the Members and roles tabs on the Settings page. Here you can:- Invite new users to your organization, selecting workspace membership and (if RBAC is enabled) workspace role.
- Edit a user’s organization role.
- Remove users from your organization.
Organizations on the Enterprise plan may set up custom workspace roles in the Roles tab. For more details, refer to the access control setup guide.
Organization roles
Organization-scoped roles are used to determine access to organization settings. The role selected also impacts workspace membership:Organization Admingrants full access to manage all organization configuration, users, billing, and workspaces. AnyOrganization AdminhasAdminaccess to all workspaces in an organization.
Organization Usermay read organization information, but cannot execute any write actions at the organization level. You can add anOrganization Userto a subset of workspaces and assigned workspace roles as usual (if RBAC is enabled), which specify permissions at the workspace level.
The
Organization User role is only available in organizations on plans with multiple workspaces. In organizations limited to a single workspace, all users are Organization Admins. Custom organization-scoped roles are not available.Set up a workspace
When you log in for the first time, a default workspace will be created for you automatically in your personal organization. Workspaces are often used to separate resources between different teams or business units to establish clear trust boundaries between them. Within each workspace, Role-Based Access Control (RBAC) manages permissions and access levels, which ensures that users only have access to the resources and settings necessary for their role. Most LangSmith activity happens in the context of a workspace, each of which has its own settings and access controls. To organize resources within a workspace, you can use resource tags.Create a workspace
To create a new workspace, navigate to the Settings page Workspaces tab in your shared organization and click Add Workspace. Once you have created your workspace, you can manage its members and other configuration by selecting it on this page.
Different plans have different limits placed on the number of workspaces that can be used in an organization. For more information, refer to the pricing page.
Manage users
Only workspace
Admins can manage workspace membership and, if RBAC is enabled, change a user’s workspace role.Admin may add them to a workspace in the Workspace members tab under Workspaces settings page. Users may also be invited directly to one or more workspaces when they are invited to an organization.
Configure workspace settings
Workspace configuration exists in the Workspaces settings page tab. Select the workspace to configure and then the desired configuration sub-tab. The following example shows the API keys, and other configuration options including secrets, models, and shared URLs are available here as well.
Delete a workspace
Deleting a workspace will permanently delete the workspace and all associated data. This action cannot be undone.
Admin in order to delete a workspace.
Delete a workspace via the UI
- Navigate to Settings.
- Select the workspace you want to delete.
- Click Delete in the top-right corner of the screen.